
Before I forget miss the last date to publish this, I think now is the time for this post :)
Hubby dear reminded me of
Trupti's event and told me that he will make something before we left Pune( Perhaps he too loved our kitchen there and wanted to have some memories to carry along with :D ). Though it was not the first time when he entered kitchen, but yes, it was the first time when he entered Kitchen to be a part of Blogging event :).
Thought by himself what he is going to make and then did the preparations for Trupti's Event- Spring Fling :) , thinking for sometime finally he decided on making Dhokla for us. I just told him once about the event of Trupti, and he remembered it so well :) . He made some variations himself and took a trial before he allowed me to take these snaps. It was the second round of preparing Dhokla for him :D.
The variation is that he prepared it using idli stand, I remember , once while making idli , I told him the same way dhokla can be made, just the shape of it will be just like idlis :D , if we gonna use the same stand then ,and he remembered it perfectly , thus while he decided to make dhokla he choose this way :) .
Hence i think the name for this should be JhatPat Dhokla :D .

well, he has not used instant flour mix to prepare it , just the way it is cooked in idli steamer is really fast , it was a peaceful evening, i don't have to enter kitchen even, actually was busy packign all the stuffs there and wonderful Dhokla was ready for me, what else one want from life ? :)).
let us have quick look at how he prepared it .
 Ingredients :
3/4 cup of rice +1/4 cup of chana dal (bengal gram ) - grind into semi coarse powder ( I normally keep it ready with me , so i can make dhokla anytime I feel like making it, this time it helped hubby :) )
3/4 cup of sour yogurt
Salt to taste
2 tsp garlic red chilli & garlic paste
½ tsp of soda bi-carbonate (baking soda)
1 tbsp of red chilli powder
seasame seeds and coriander leaves to garnish
Method:
Take dhokla flour in a large bowl, Put the powder in a bowl. Add yoghurt and little of warm water into the bowl. Mix thoroughly

so that no lumps are formed and the batter is of pouring consistency not too thin, keep it thick, as in picture.
Llet it ferment for eight to ten hours- in hot days it takes lessto ferment, so keep it on look while u put it to ferment , if there is proper sunlight available , its recommended to put it in the sunlight that will greatly help it to ferment very well and quickly too , I used to do it as there is ample of sunlight always available in India, watching me alwasy to ferment dhokla flour this way , hubby too placed it in sunlighted area and kept a watch on it :D.
while making, prepare a paste of Red chilli and garlic.

Once fermented, mix this paste with the batter, add pinch of baking soda to it and salt to taste. Hubby dear ,Greased the idli stand well and then pured the batter in it.and i was completely flattered to see him doing so, coz I thought he might forget this step , but he didn't :) . he filled it properly with batter and
next he boiled water in the idli steamer, and placed the stand in it, covered it and kept it in the steamer to steam for 5 to 7 minutes.
finally while it is done i asked him to check it with a knife. If the knife comes out clean, it is cooked, and he did it .
Serve hot with green chutney or anything you like( I once in a while like it with sweet yougurt chutney... the sour taste of dhokla goes well with sweet and sour chutney . will share it s recipe

some other time here :D .)
It was a great experience to know that my hubby can do so well without any help of mine in kitchen that too with a pure gujarati dish. He made slight variation to this dish by adding a pinch of turmeric powder to it.
Thank you
Trupti for this
Event- "Spring Fling 2007-with Family and Friends in the Kitchen." , it was really fun participating in it .
Hubby is far away right now, and this too is a good memory of our staying of pune. Trupti, you added this to our one of the golden memories :), hugs to you.
Thank you
Deepak, you make this post possible, I know it was much busy for you and me in our last days of staying at Pune , still you did it and added even more smiles to my life :D.

just a littel different angle and the whole picture is different- compare it with the picture in the starting of this post , needless to say this final pictures of Dhokla is taken by Deepak himself :) .
Answer to the guessing game :
there is actully total 13 (10 bird + 3 squrrels ) in the picture , check the picture below , the one rounded with yellow color is the mostly missed birds in the guessing I think :) . check out for it in a large view by clicking on it .

check out some of the famous recipe from this blog :

Aloo Paratha(stuffed potato Paratha) with Spicy tomato chutney
 Yam and Tomato Salad
 Methi (fenugreek)Triangels- a healthy snack
 Okra with Green Mango and lentils
  Boondi Raita
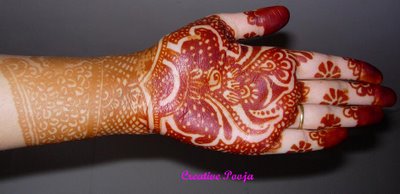
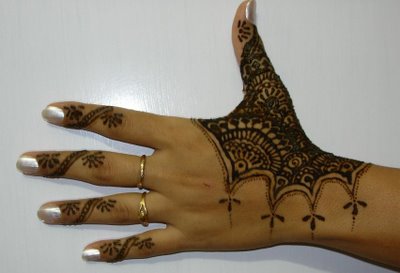
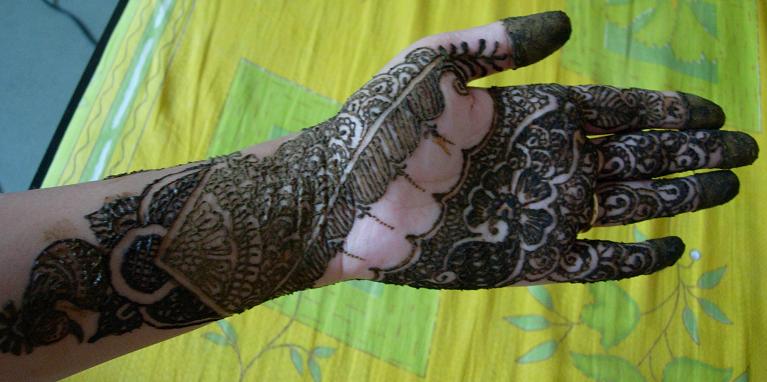
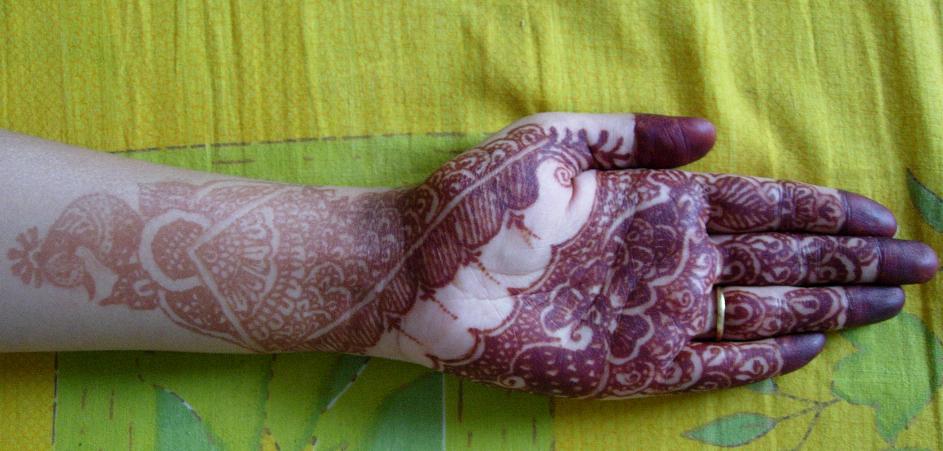
Not only recipes , check my henna designing too ! :) ....
So stay tuned to here and happy blogging ! :D
Have fun, keep enjoying whatever comes your way and spend the days such that they will be a good memory for you to cherish :D.


 This same dish I cook the normal way on stove, the only difference i find with this one is it takes much less oil to cook ,also for vegetables like this , it takes more time to cook on stove , also with microwave oven you don't need to worry about this getting burned from somewhere , just occasional stirring is fine with that, and it feels great when it take much less effort to cook the same dish, right?


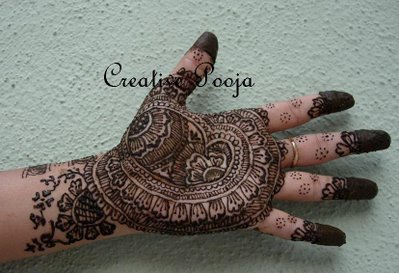




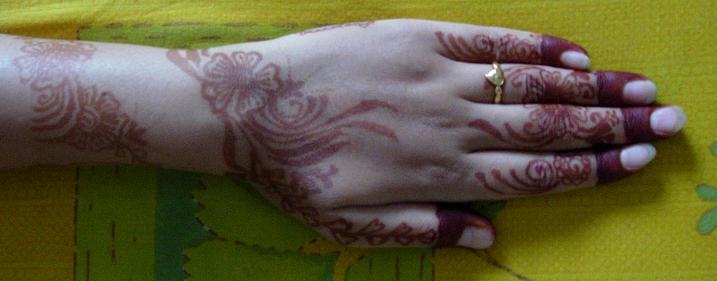
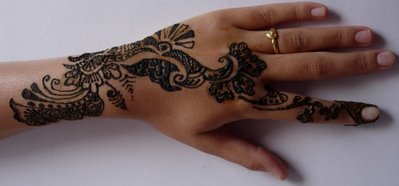 Since many of my blog buddies are also intresten in this art, I am presenting here the designs I made . :)
  This is what I made on the back side of my hand . It Happened so that when I fineshed designing on the front side, the henna cone has started creating some problems with its smooth flow :( , but I was not the one to gave up so easily, so I also kept trying with care, and the a battle between my tries and flow of cone was continued till the ends :) .Finally I came to finish it :D. well, I hope if cone might have been smooth with its flow then I could have made better design. :)





 Posts
Posts


